AdHoc Wi-Fi LAN networks on macOS
I recently wanted to host a game of Quake 3 Arena at work. This is a summary of how I got it working on the macOS machines we were using.
How to create an AdHoc Wi-Fi network
This requires a few buttons in the System Settings app, as well as a couple terminal commands.
Step 1: create the ad-hoc network service
You can’t create the ad-hoc in the macOS GUI on Sonoma (on previous versions this was available). To create one via the terminal, run:
# create the network service
sudo networksetup -createnetworkservice AdHoc lo0
Step 2: create the Wi-Fi service
Now it’s time to create your wireless network.
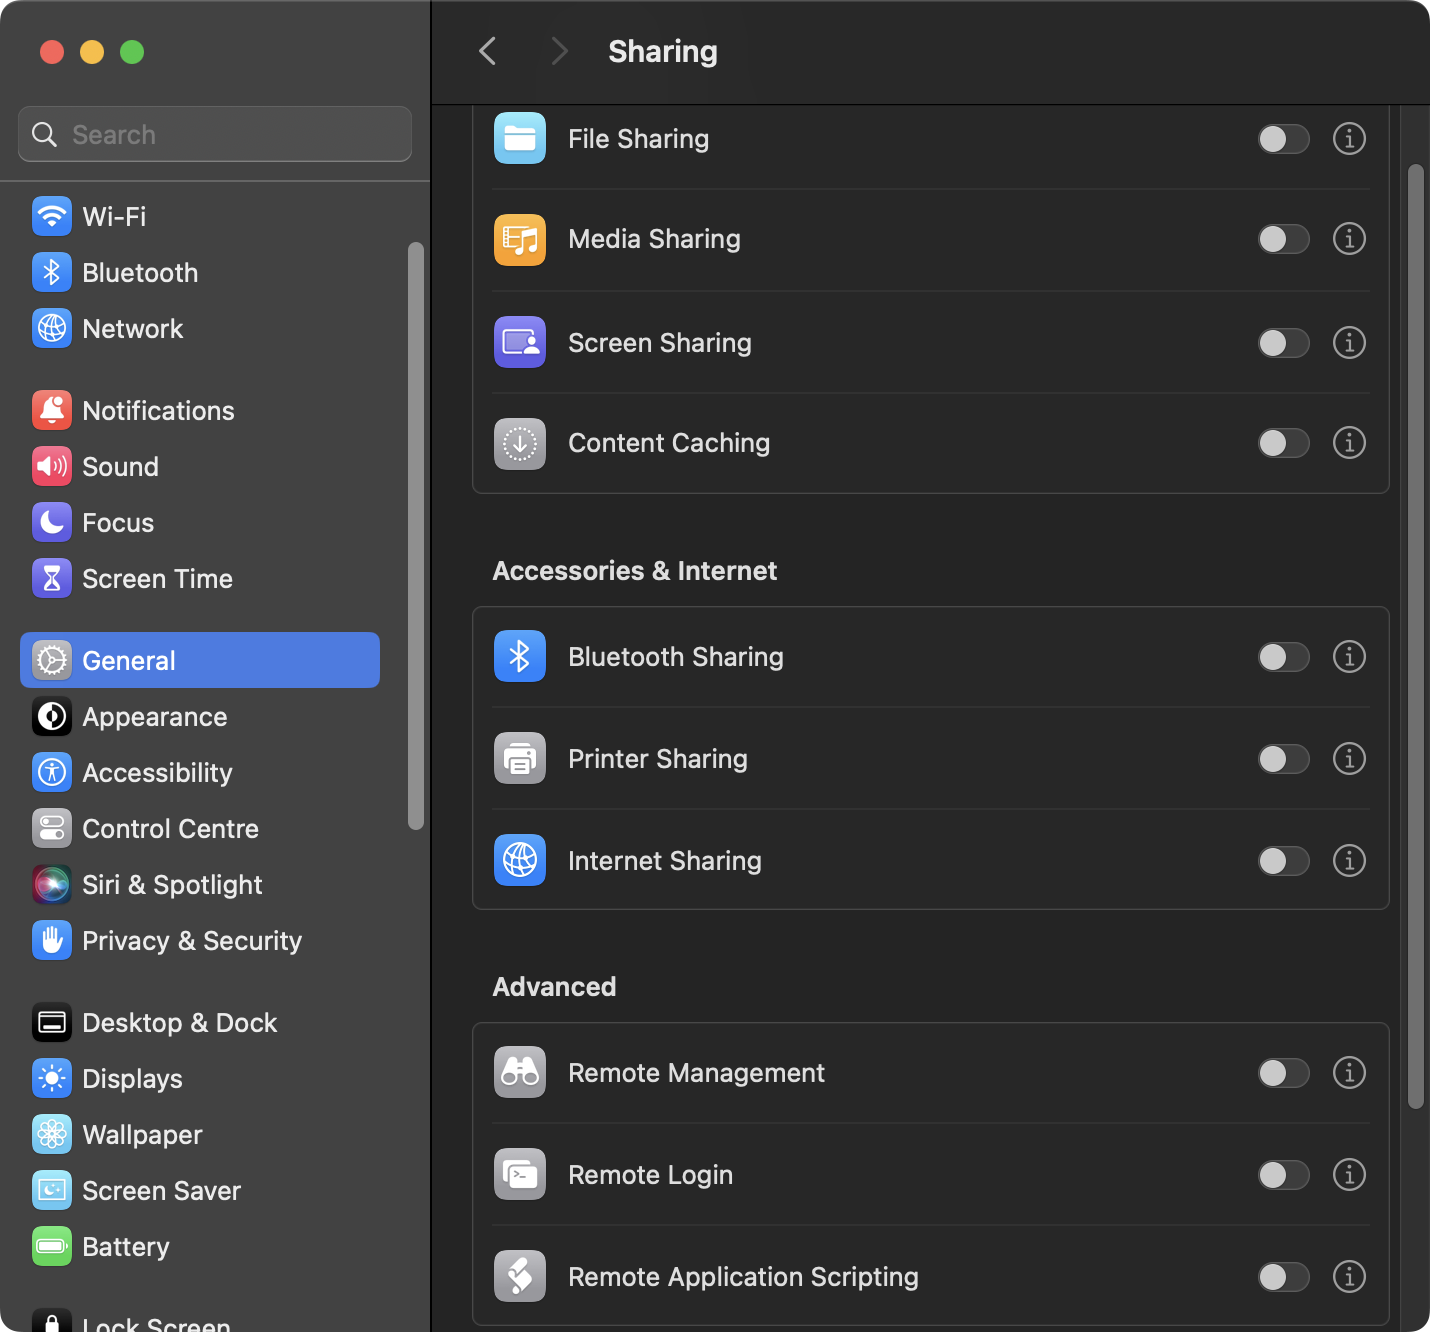
To do this, open System Settings and navigate to:
- General
- Sharing
- Internet Sharing (click the
iicon)
- Internet Sharing (click the
- Sharing
 General -> Sharing
Next, select the network you created (it’s called AdHoc) in the Share your connection from select box.
Then, enable the Wi-Fi toggle in the To devices using and a configuration dialog will appear where you can define your wireless network’s settings.
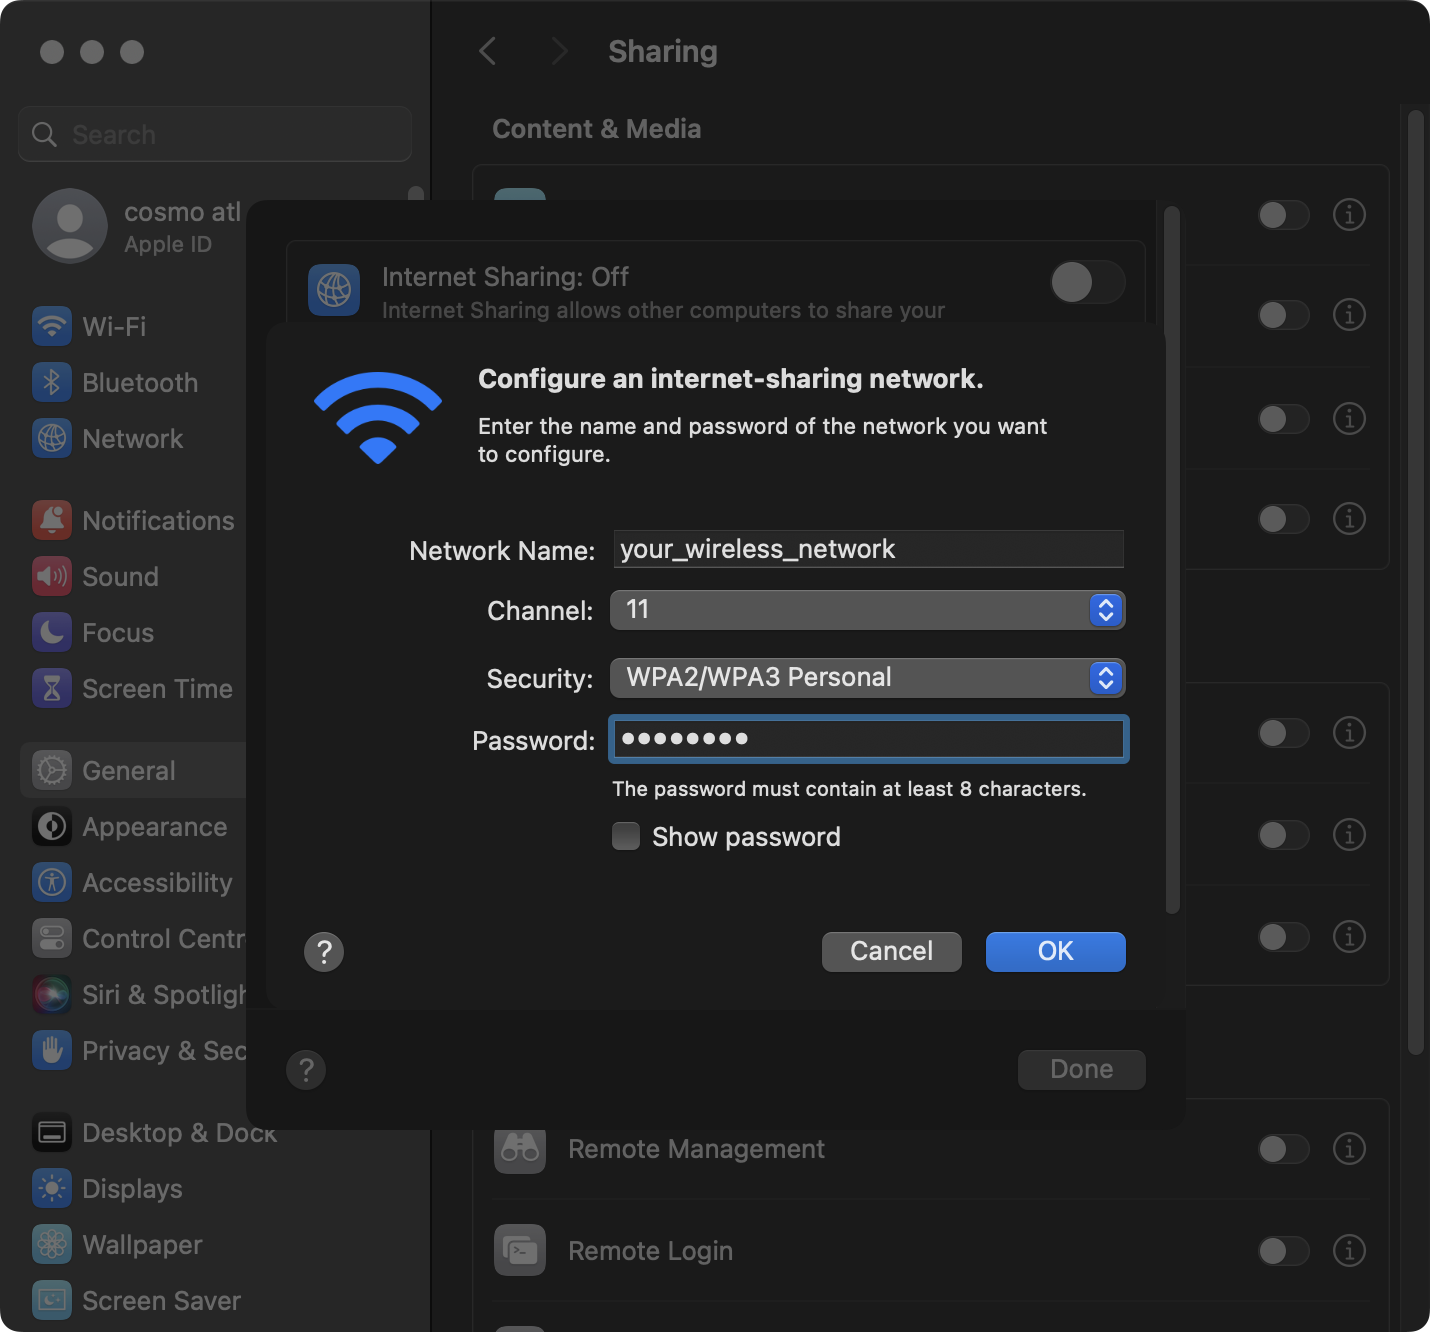 Configure your Wireless Network
You’re not done yet! Make sure you enable the Internet Sharing: On toggle at the top of the dialog and click done. Also make sure the toggle is on in the previous view.
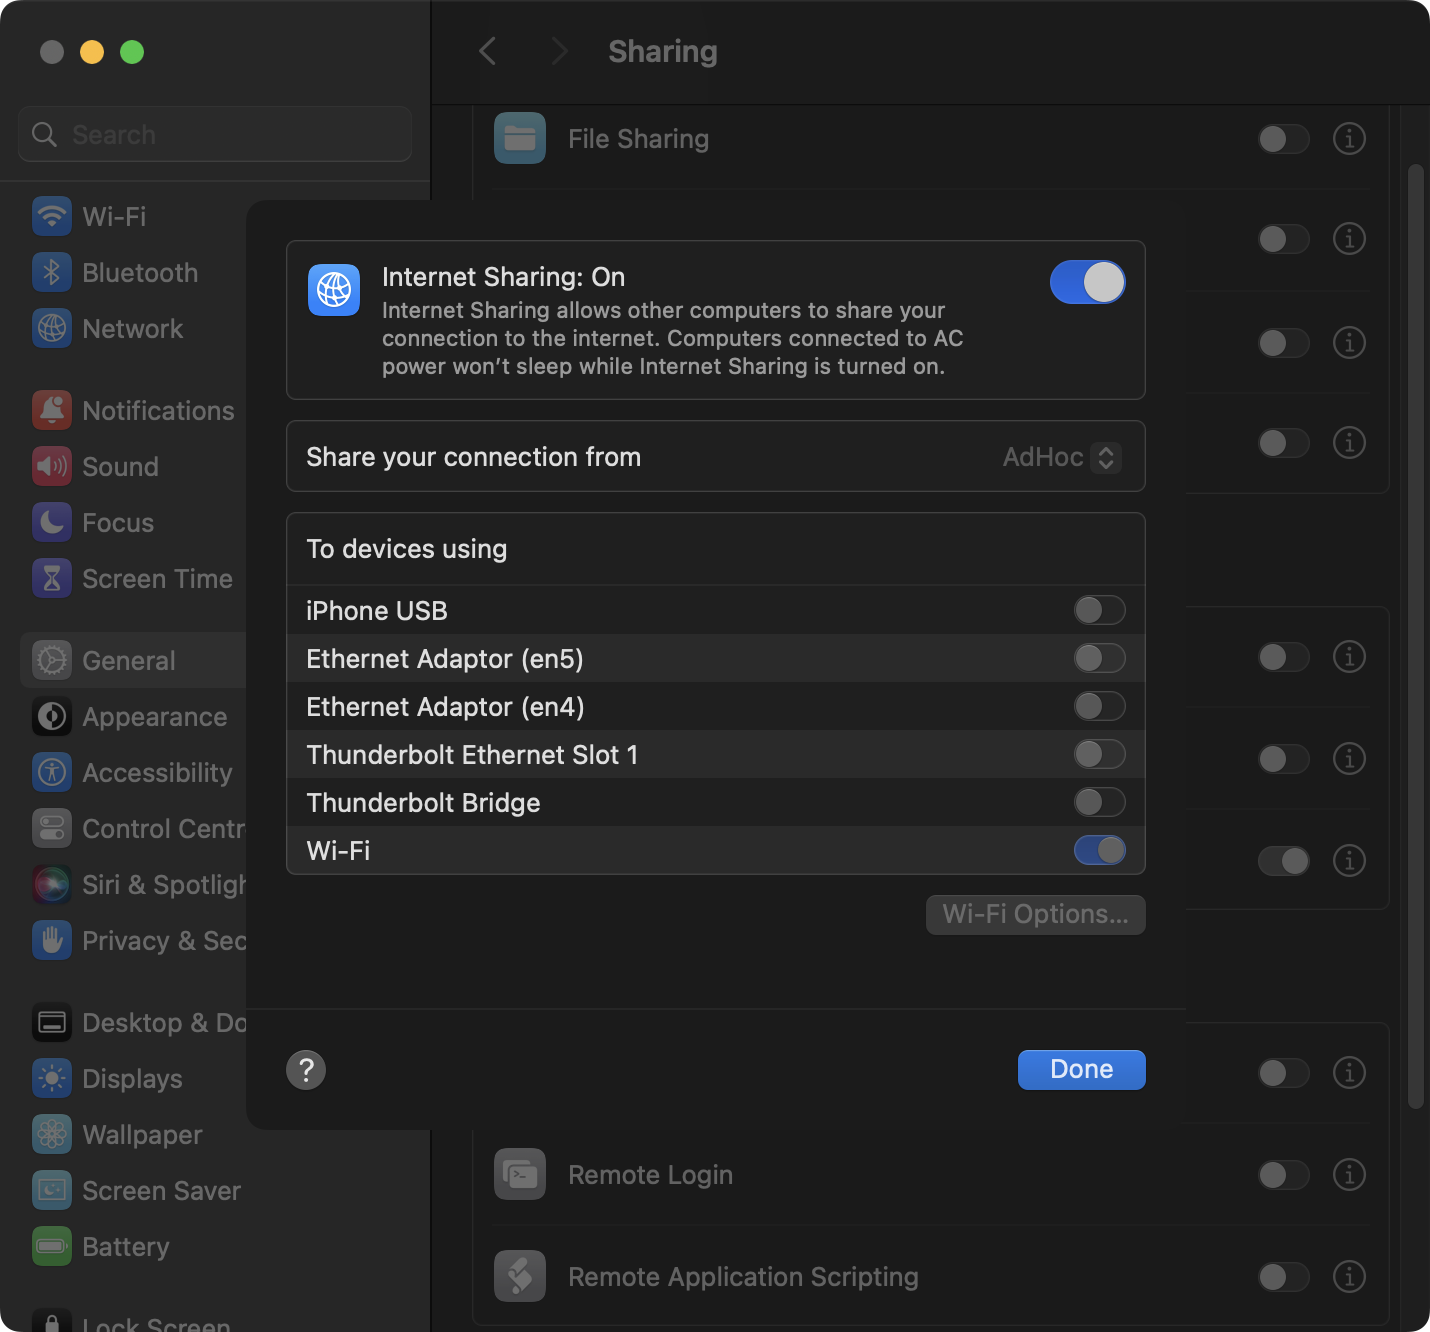 Internet Sharing Settings
The wireless network should now be created and running!
Other tips
You can enable/disable the wireless network with:
# disable the network service...
sudo networksetup -setnetworkserviceenabled AdHoc off
# enable the network service...
sudo networksetup -setnetworkserviceenabled AdHoc on
Created: Tuesday, May 28, 2024 at 17:14
Last updated: Tuesday, July 23, 2024 at 09:40